
I'm always that one that just looks at the calendar I don't know maybe four days before Christmas... And realizes that yes, Christmas is in four days. Immediately all these thoughts go through my head: what should I buy for Sarah Grace and Kayla? Oh no! I still haven't sent out Christmas cards.. Um maybe Merry late Christmas will work? (I'm so so so so sorry about that Undeniabaes and Blogmas girlies! You'll get them from me soon!) And then there's my twin that I still need to send a present too, and my Undeniabig....... ect. ect. ect. ect.
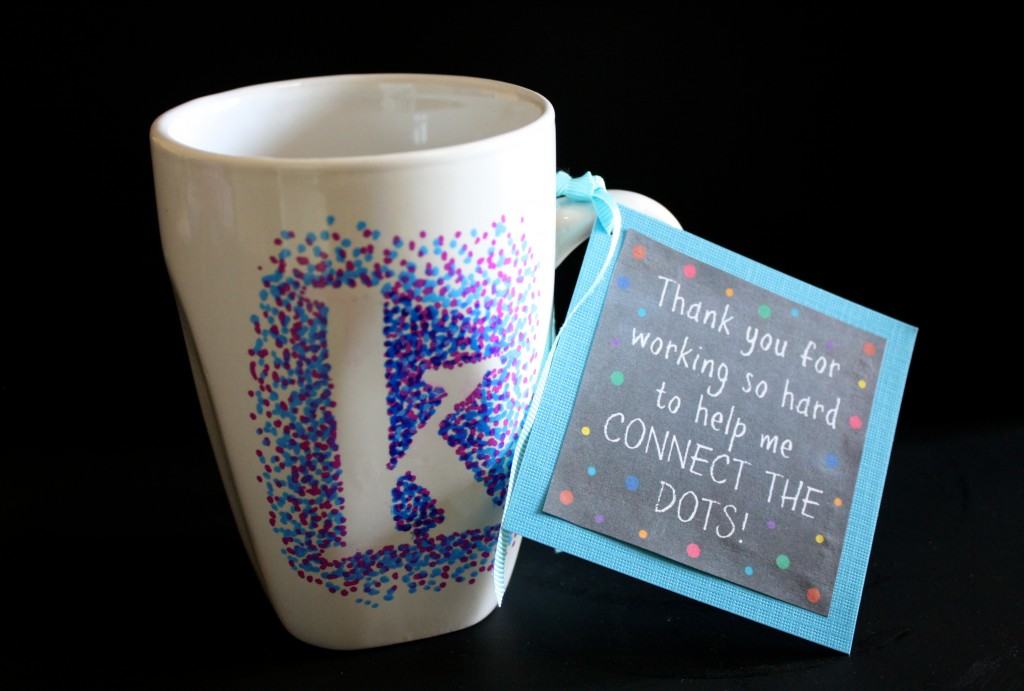
But anyways, I feel like some of the best presents are the ones made by hand. They're usually the most memorable and meaningful gifts. If you search Pinterest, you can always find inspiration for any do it yourself projects you would like to do. Here's my inspiration for today's DIY project:
This morning I headed out to Walmart and picked up a few things.. Some basic white mugs, Sharpie (oil based) paint markers, and some basic stickers to trace. It doesn't matter which font or size of sticker you use just as long as it's big enough to trace. And that's basically all that you need for this project. Well, and an oven.. but most people have that.
Let's get into this project:

Start with your mug. Wash it and dry it well (both the inside and the outside).

See those stickers? That's what you're going to trace on your mug! So go ahead and get sticking..

Half of my name done...

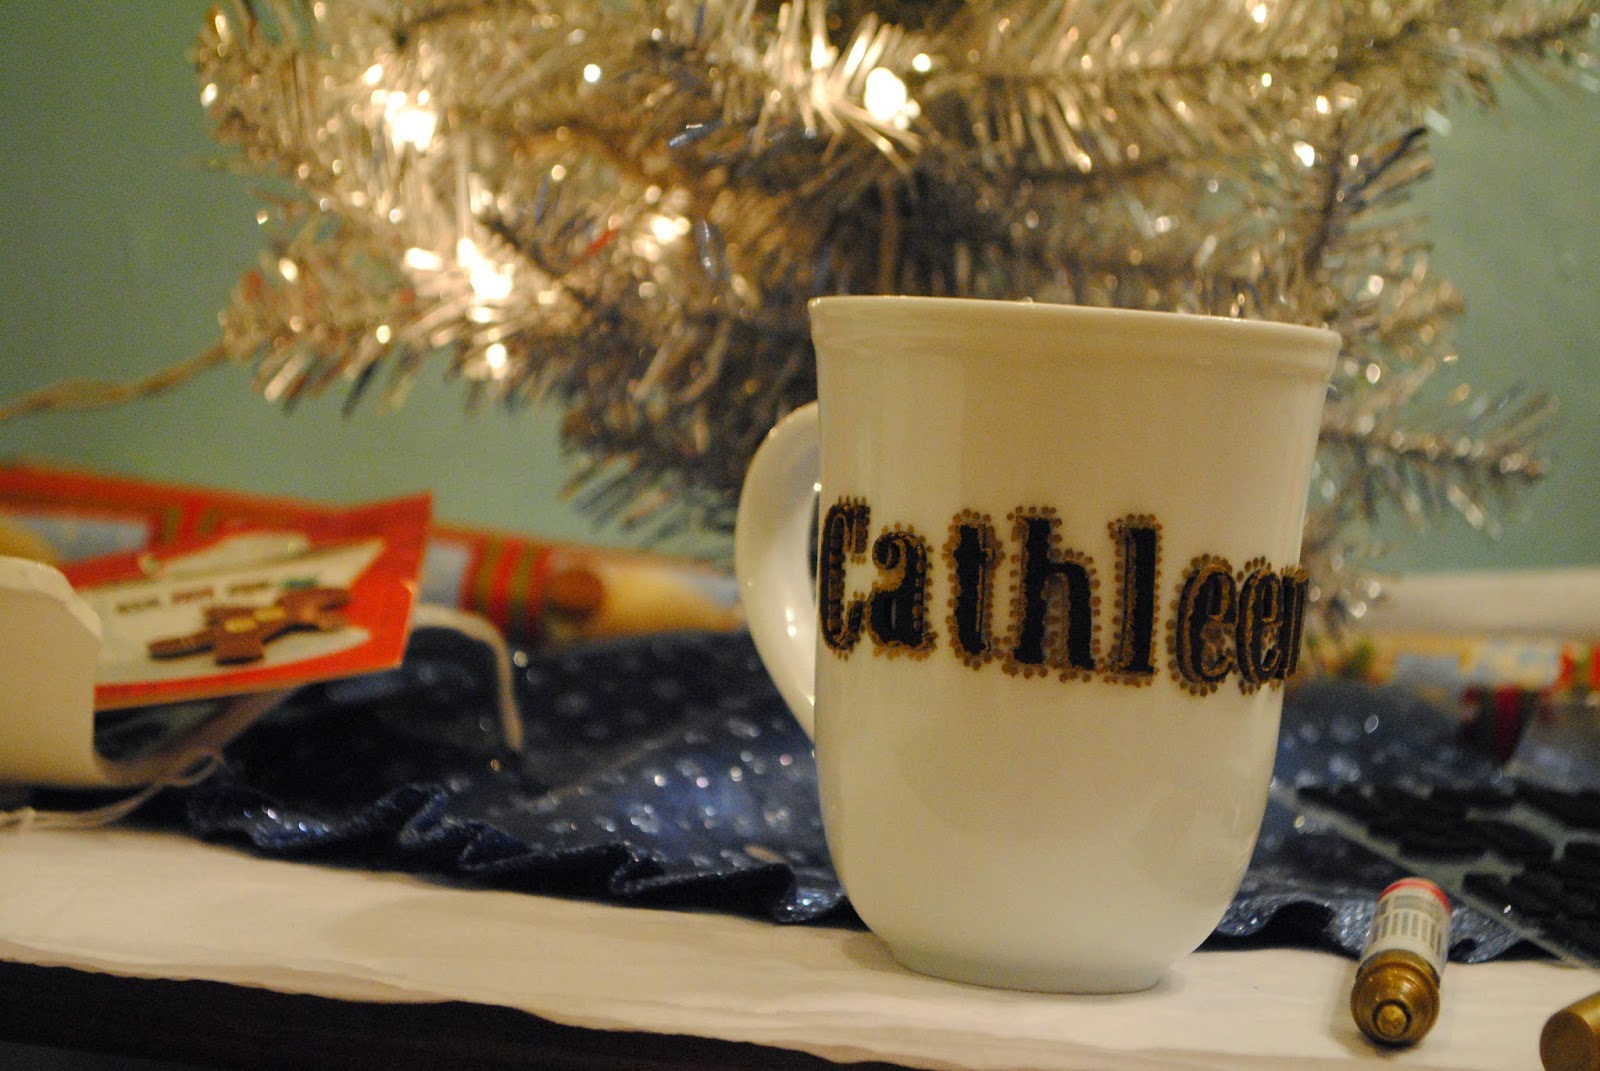
And here's all of my name! Once you finish sticking your stickers, it's time to outline the letters.


Silver and Gold Sharpies make me so freaking happy. I just love the look of them! These are oil-based, paint marker Sharpies... Not just regular Sharpies. For some people, regular Sharpies work.. But not everyone so I wanted to be on the safe side with these markers.

Outline the letters in dots. This is just what I do, but you can just as easily write or draw something on the outside of the mug.
Take the marker and start filling in the mug the way you want. For my design, I wanted lots of dots concentrated in the middle o the mug, and almost fading out. But y'all do whatever you want:)


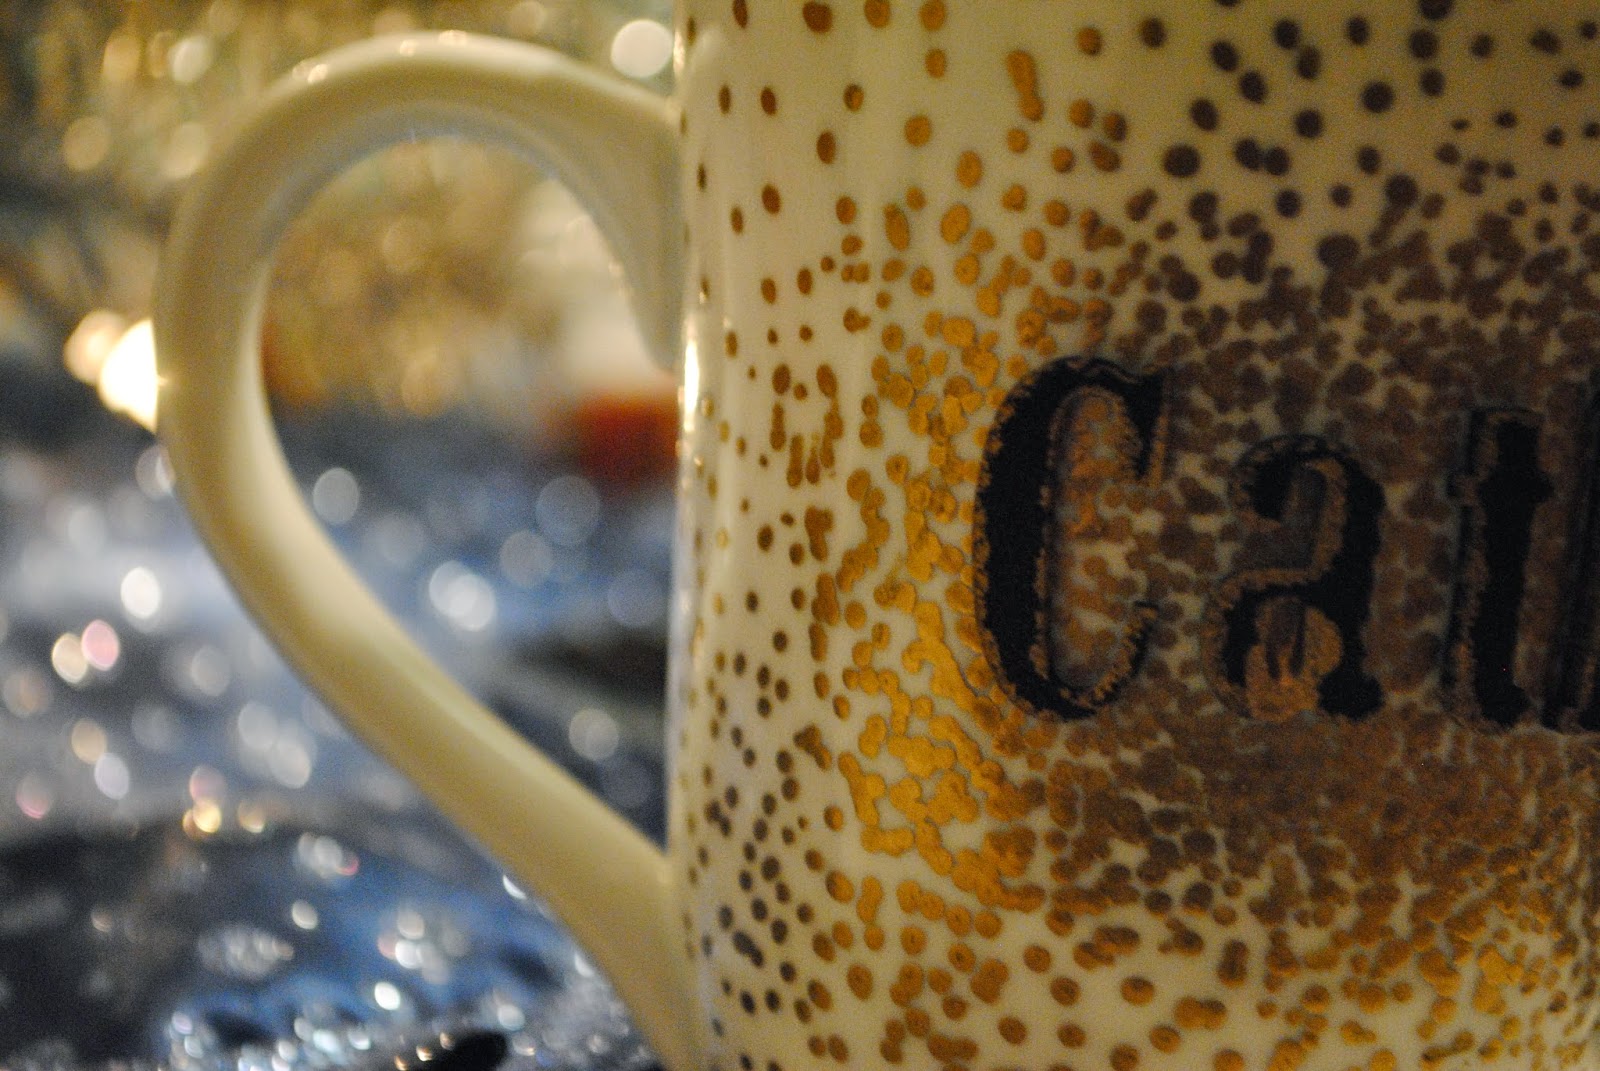


When you're completely done with your design, take the stickers off carefully. Next step is making it permanent. You don't want your beautiful design to come off when you're washing it... So put it on a pan and put it in the oven. Preheat your oven to 425 for 30 minutes. Once it finishes "baking", turn off the oven and make sure you leave the mug in the oven until it's completely cooled down.


Excuse the "a"... my bad haha. Other than that little sllip up, I think this came out pretty great! I made one for my mom too.. Did you see my tweet? It's an awful photo.. my bad
What do you think about these diy mugs? The possibilities are just about endless when it comes to these mugs! I'll probably forever be buying mugs at the dollar store and decorating them! They make the perfect Christmas gifts.. Let me know if you try them out!

This post is a part of the #countdown2blogmas collab. Do me a favor and follow the other bloggers in this collab!
